


How to Install and create a post with Elementor
Elementor is a popular WordPress page builder that allows you to create visually appealing and responsive designs. Here’s a brief overview of how to install Elementor and create a post using it:
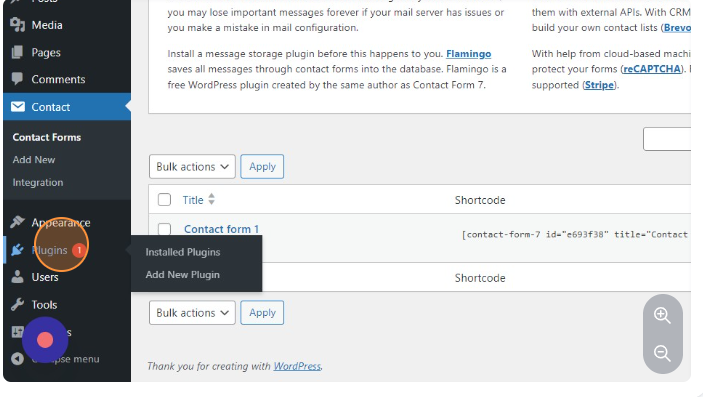
1.Click on Plugins.
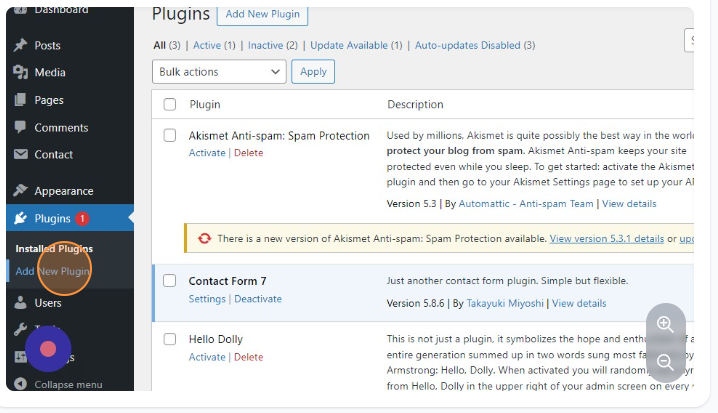
2.Click on Add New Plugin.
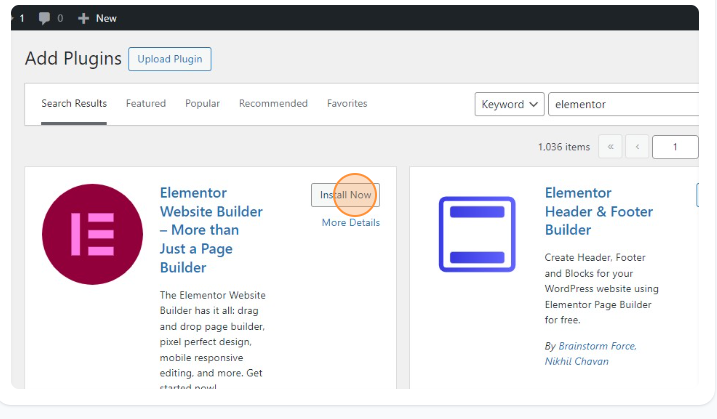
4.Click on Install Now.
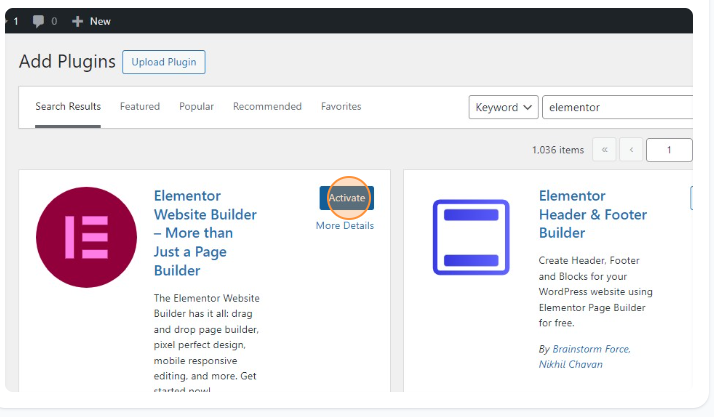
5.Click on Activate.
6.Click here.
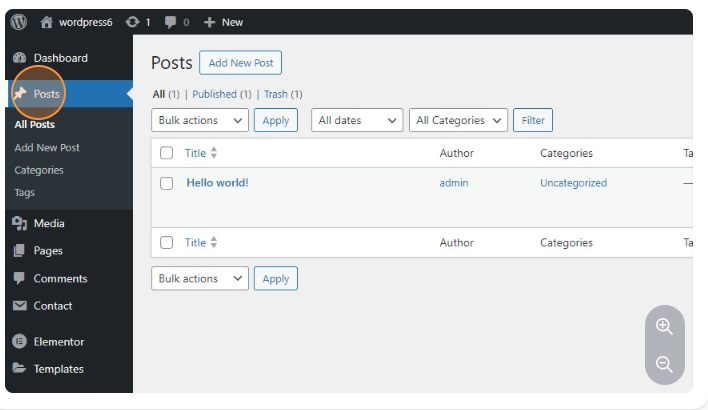
7.Click on Posts.
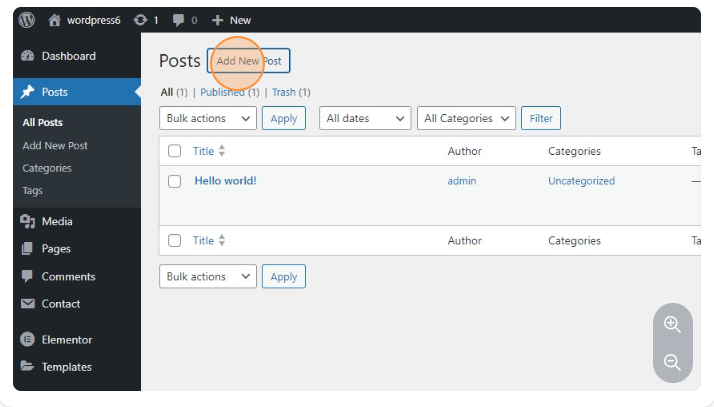
8.Click on Add New Post.
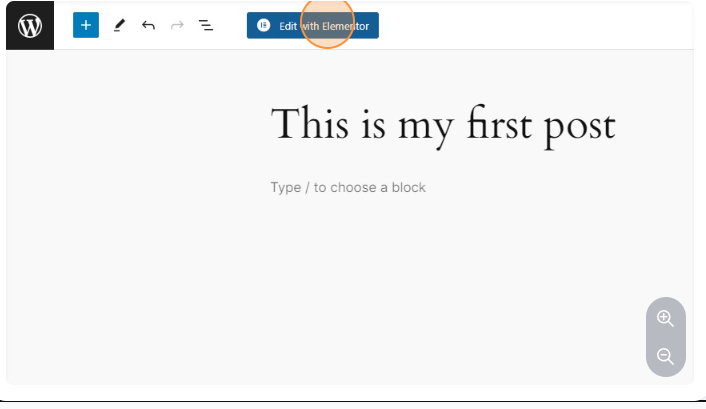
9.Click on Add title and give your name.
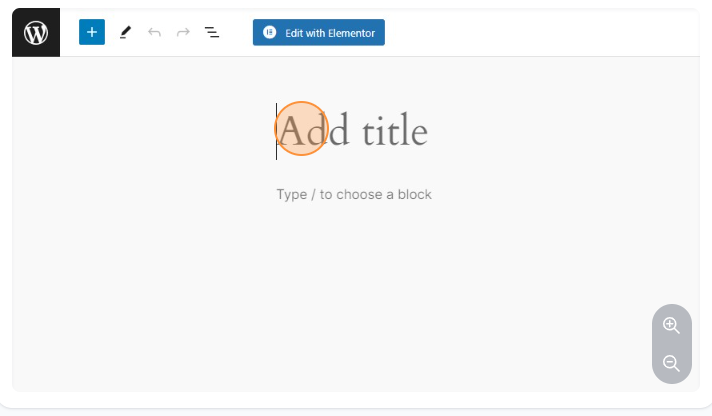
10.Click on Edit with Elementor.
11.Click on this icon.
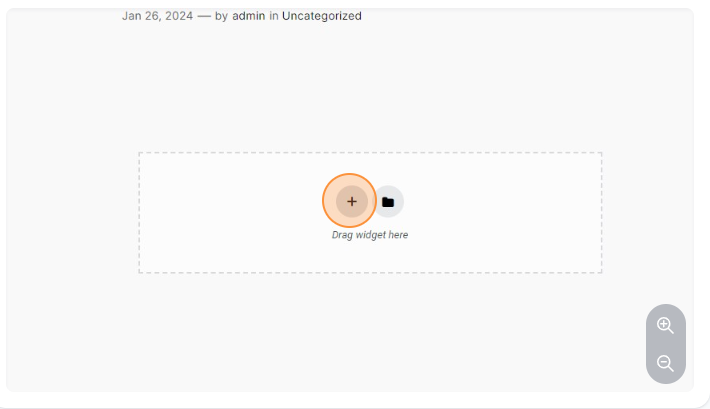
12.Click here.
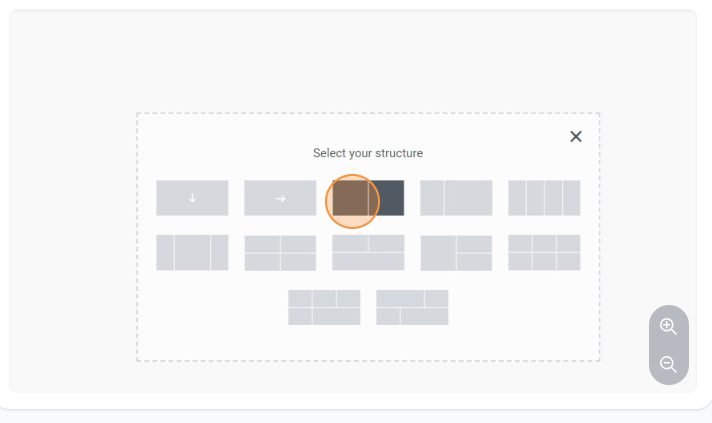
Elementor uses a section-column structure. Add sections to your canvas and divide them into columns as needed.
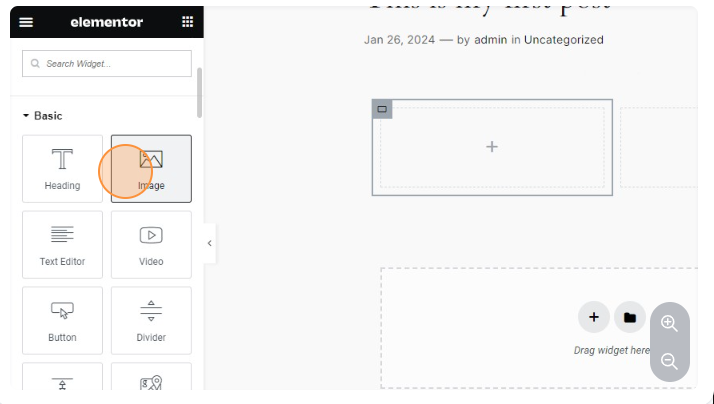
13.Click on that plus.
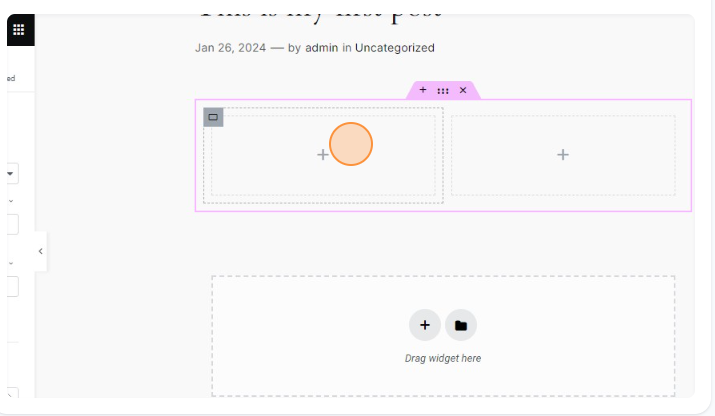
14.Click on the image and drag and drop the image.
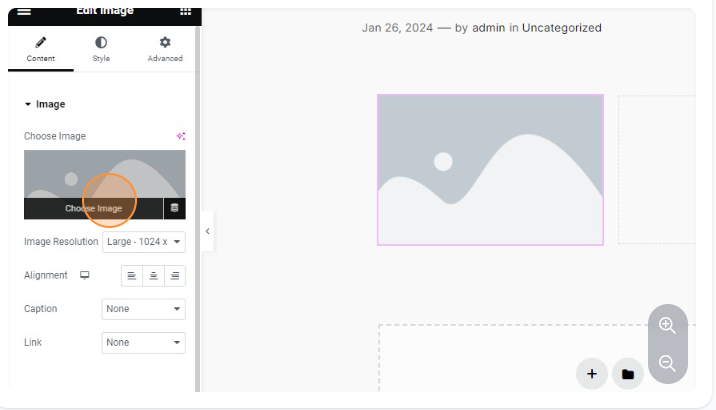
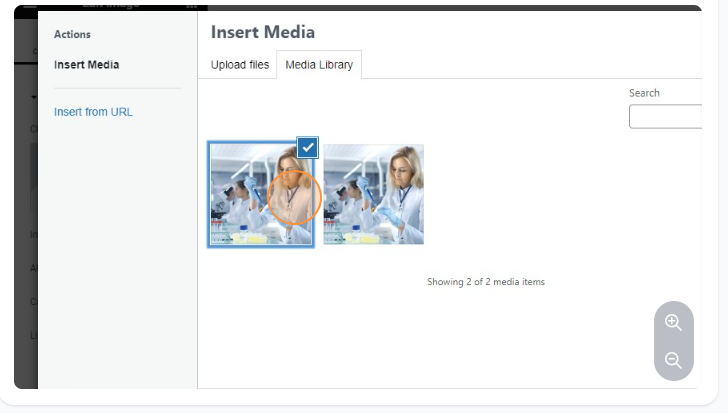
15.Click on Choose Image.
16.Click here.
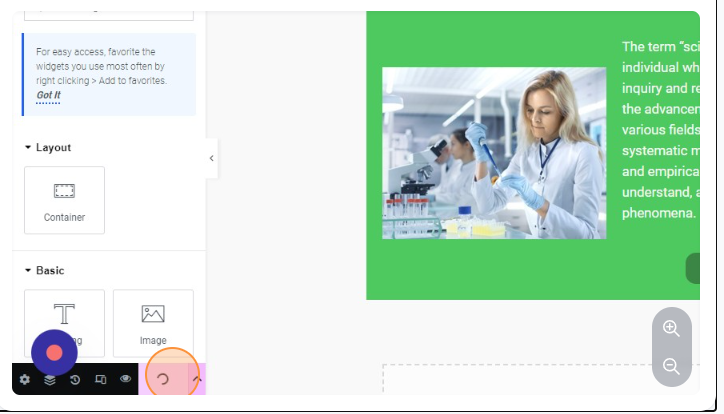
17.Same as like image drag and droop the text editor.
- Click on any element to edit its content, style, and settings.
- On the left panel, you can customize typography, colors, spacing, and more.

18.Click on Publish.
- Click the “Update” button to save your changes.
- Use the “Preview” button to see how your post looks on the frontend.
Once you are satisfied with your design, click “Publish” to make your post live.
19.This is the final output of my post.